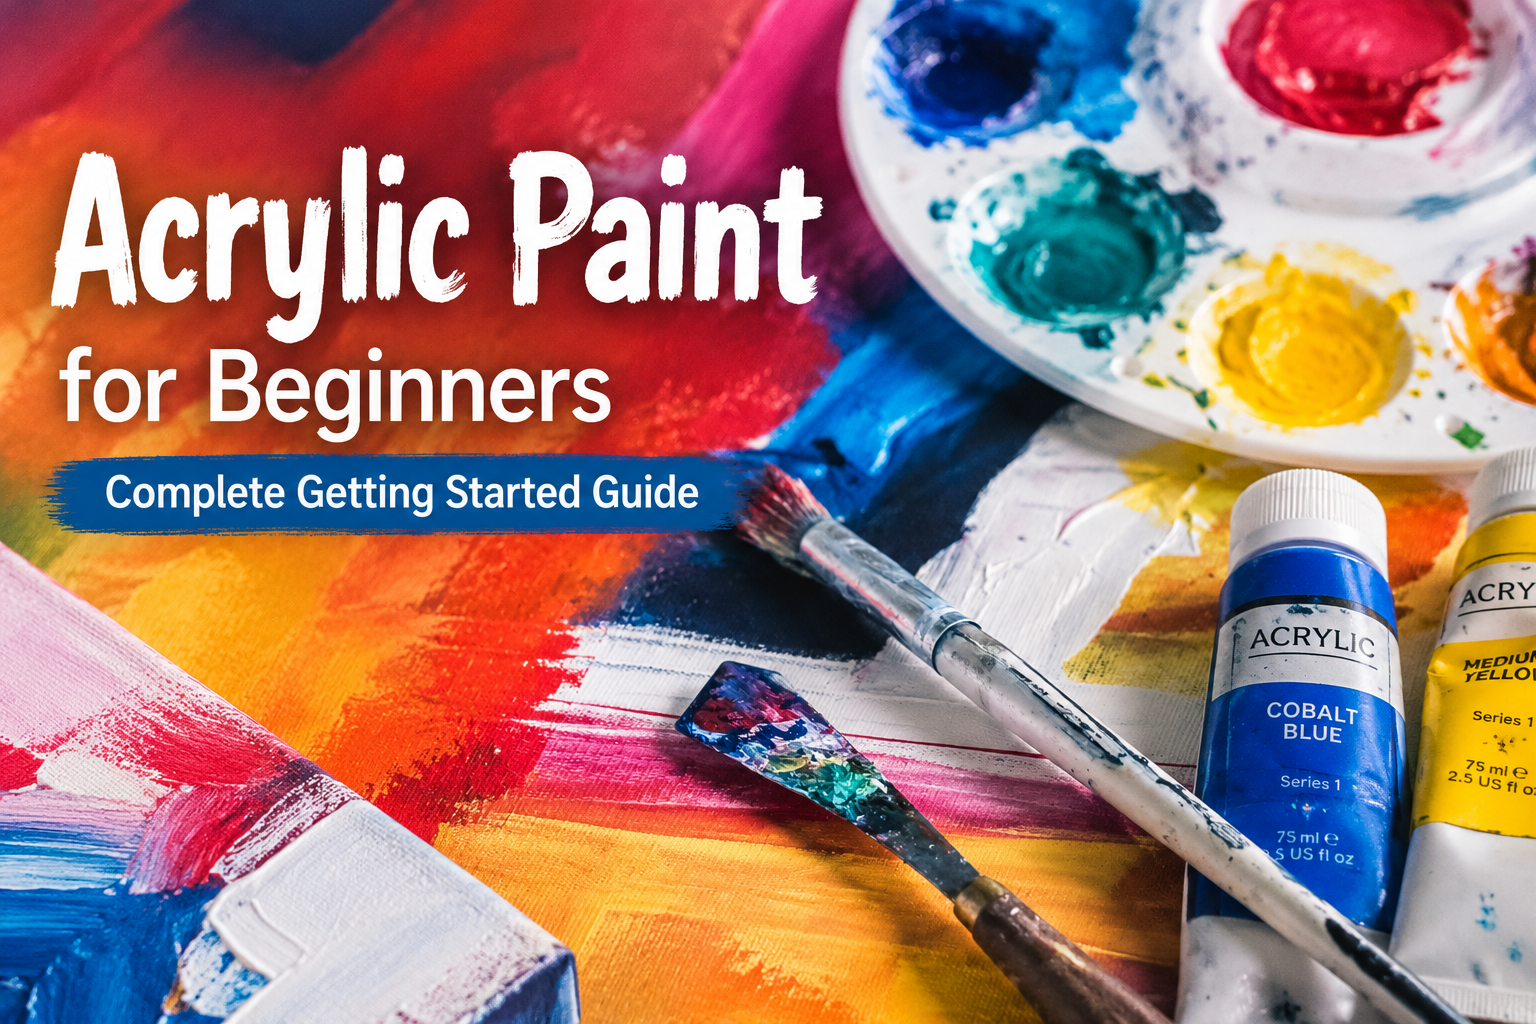
Acrylic Paint for Beginners — A Complete Guide to Getting Started
Acrylic paint is one of the most forgiving and versatile mediums available to a beginner — fast-drying, water-soluble, and compatible with almost any surface. But starting without a clear understanding of the materials and techniques means most beginners hit the same predictable walls: colours that go muddy, paint that dries on the palette before it reaches the canvas, or results that look nothing like what they had in mind.
This guide covers what acrylic paint actually is, what you need to get started, four core techniques worth learning first, and the mistakes that slow most beginners down.
What Is Acrylic Paint — and Why Does It Suit Beginners
Acrylic paint is a water-based paint made with pigment suspended in an acrylic polymer emulsion. In practical terms: it dries quickly — within minutes to hours depending on thickness — cleans up with water, and can be applied to almost any surface. Unlike oil paint, which can take days or weeks to dry fully, acrylics give you near-instant feedback. You can paint over a dried layer within the same session.
Several properties make acrylics particularly well-suited to beginners:
- Fast drying: Mistakes can be painted over quickly without waiting days for the previous layer to set
- Works on almost any surface: Canvas, wood, paper, fabric, ceramics — the range is broad
- Flexible finish: Once dry, acrylic paint is durable and flexible — it does not crack easily
- Water-soluble while wet: No solvents or special thinners required — water is sufficient for cleanup and thinning
- Accessible price point: Quality beginner sets are available without the high cost of professional oil paint setups
What You Actually Need to Get Started
Before opening a single tube, it helps to understand what you are working with. These are the core supplies a beginner needs:
1. Acrylic paints: Start with a set that covers the primary colours — red, yellow, blue — plus black and white. From these five you can mix almost any colour. Student-grade paint is appropriate for starting out. It contains slightly less pigment than professional grade but gives you room to experiment without working through expensive materials quickly.
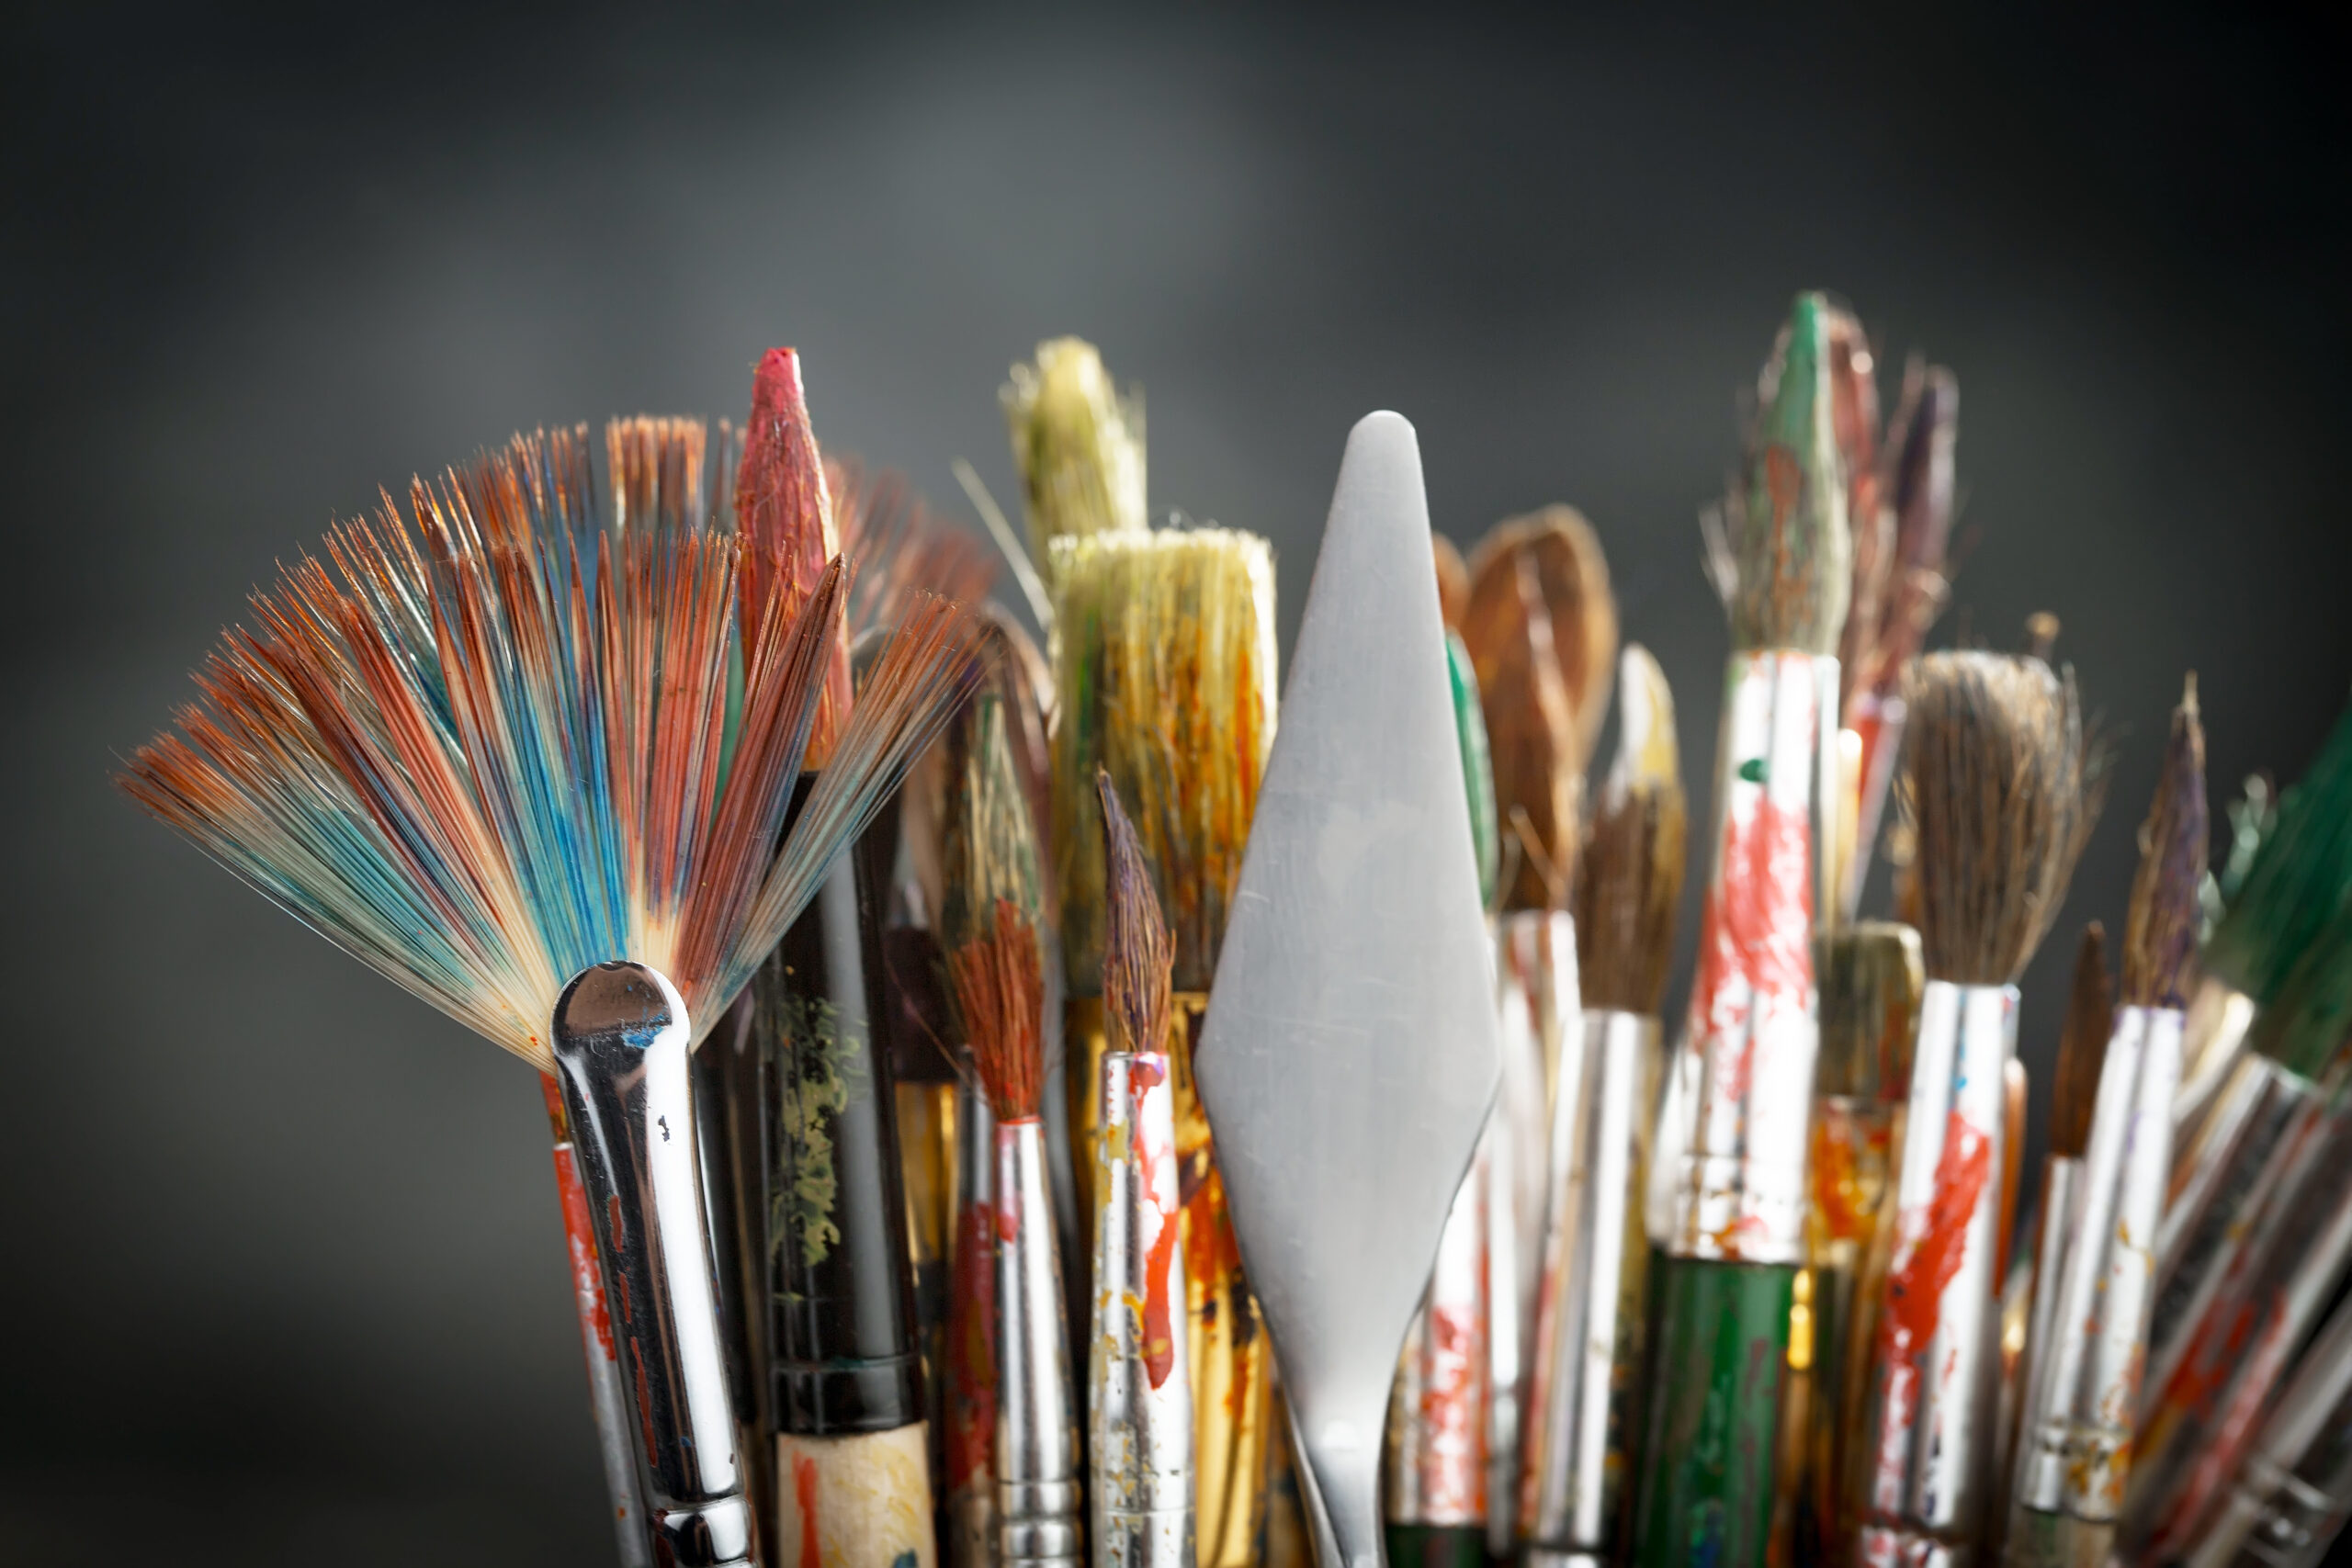
2. Brushes: Three brushes to start — a wide flat brush for large areas, a medium round brush for general work, and a fine liner or detail brush for edges and highlights. Synthetic bristles work well with acrylics.

3. A palette: A flat ceramic tile or a purpose-built stay-wet palette. Standard plastic palettes allow acrylics to dry out quickly — a stay-wet version keeps colours workable for much longer during a session.
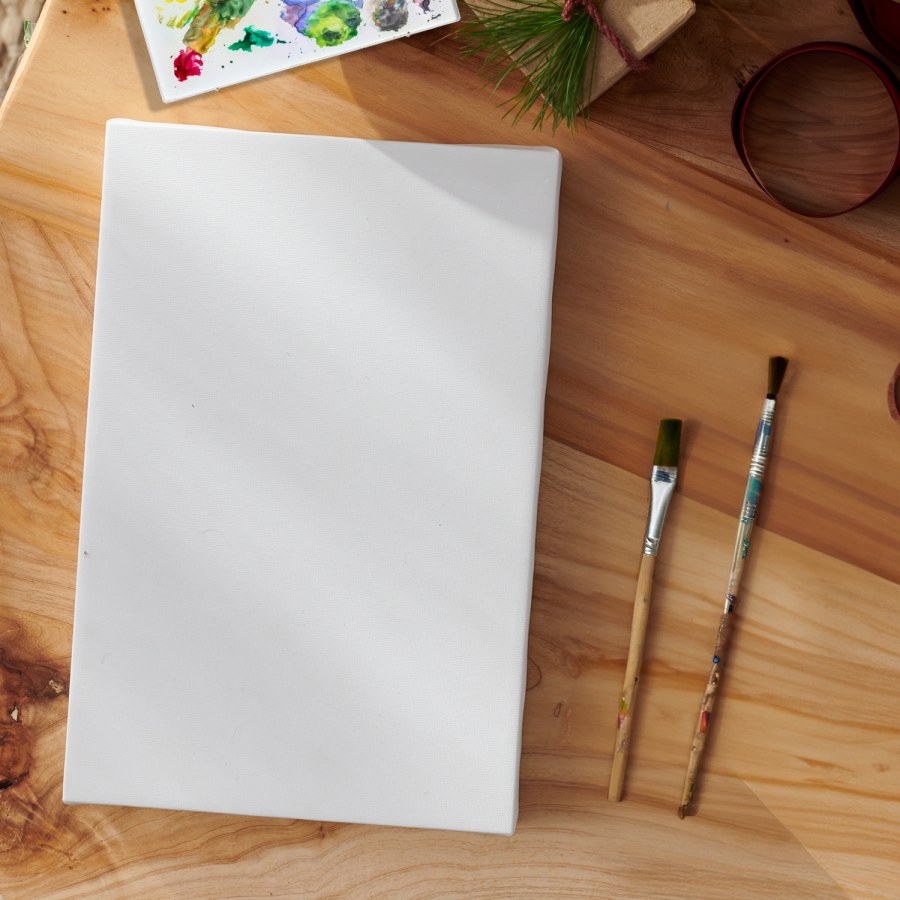
4. Painting surface: Stretched canvas or canvas boards are ideal for beginners. Thick watercolour paper at 300gsm or above works well for practice if budget is a consideration.

5. Two water jars: One for rinsing your brush, one with clean water for thinning paint. Changing them frequently matters — dirty water muddies colours faster than most beginners expect.
Choosing the Right Acrylic Paints
Not all acrylic paints perform the same way, and understanding the key differences early saves both money and frustration.
Viscosity refers to the paint's thickness. Heavy body acrylics are thick and hold brush strokes — good for textured, expressive work. Soft body acrylics have a creamier consistency that flows more easily. Fluid acrylics are very thin, suited to washes and fine detail. Heavy body is the most useful starting point for most beginners.
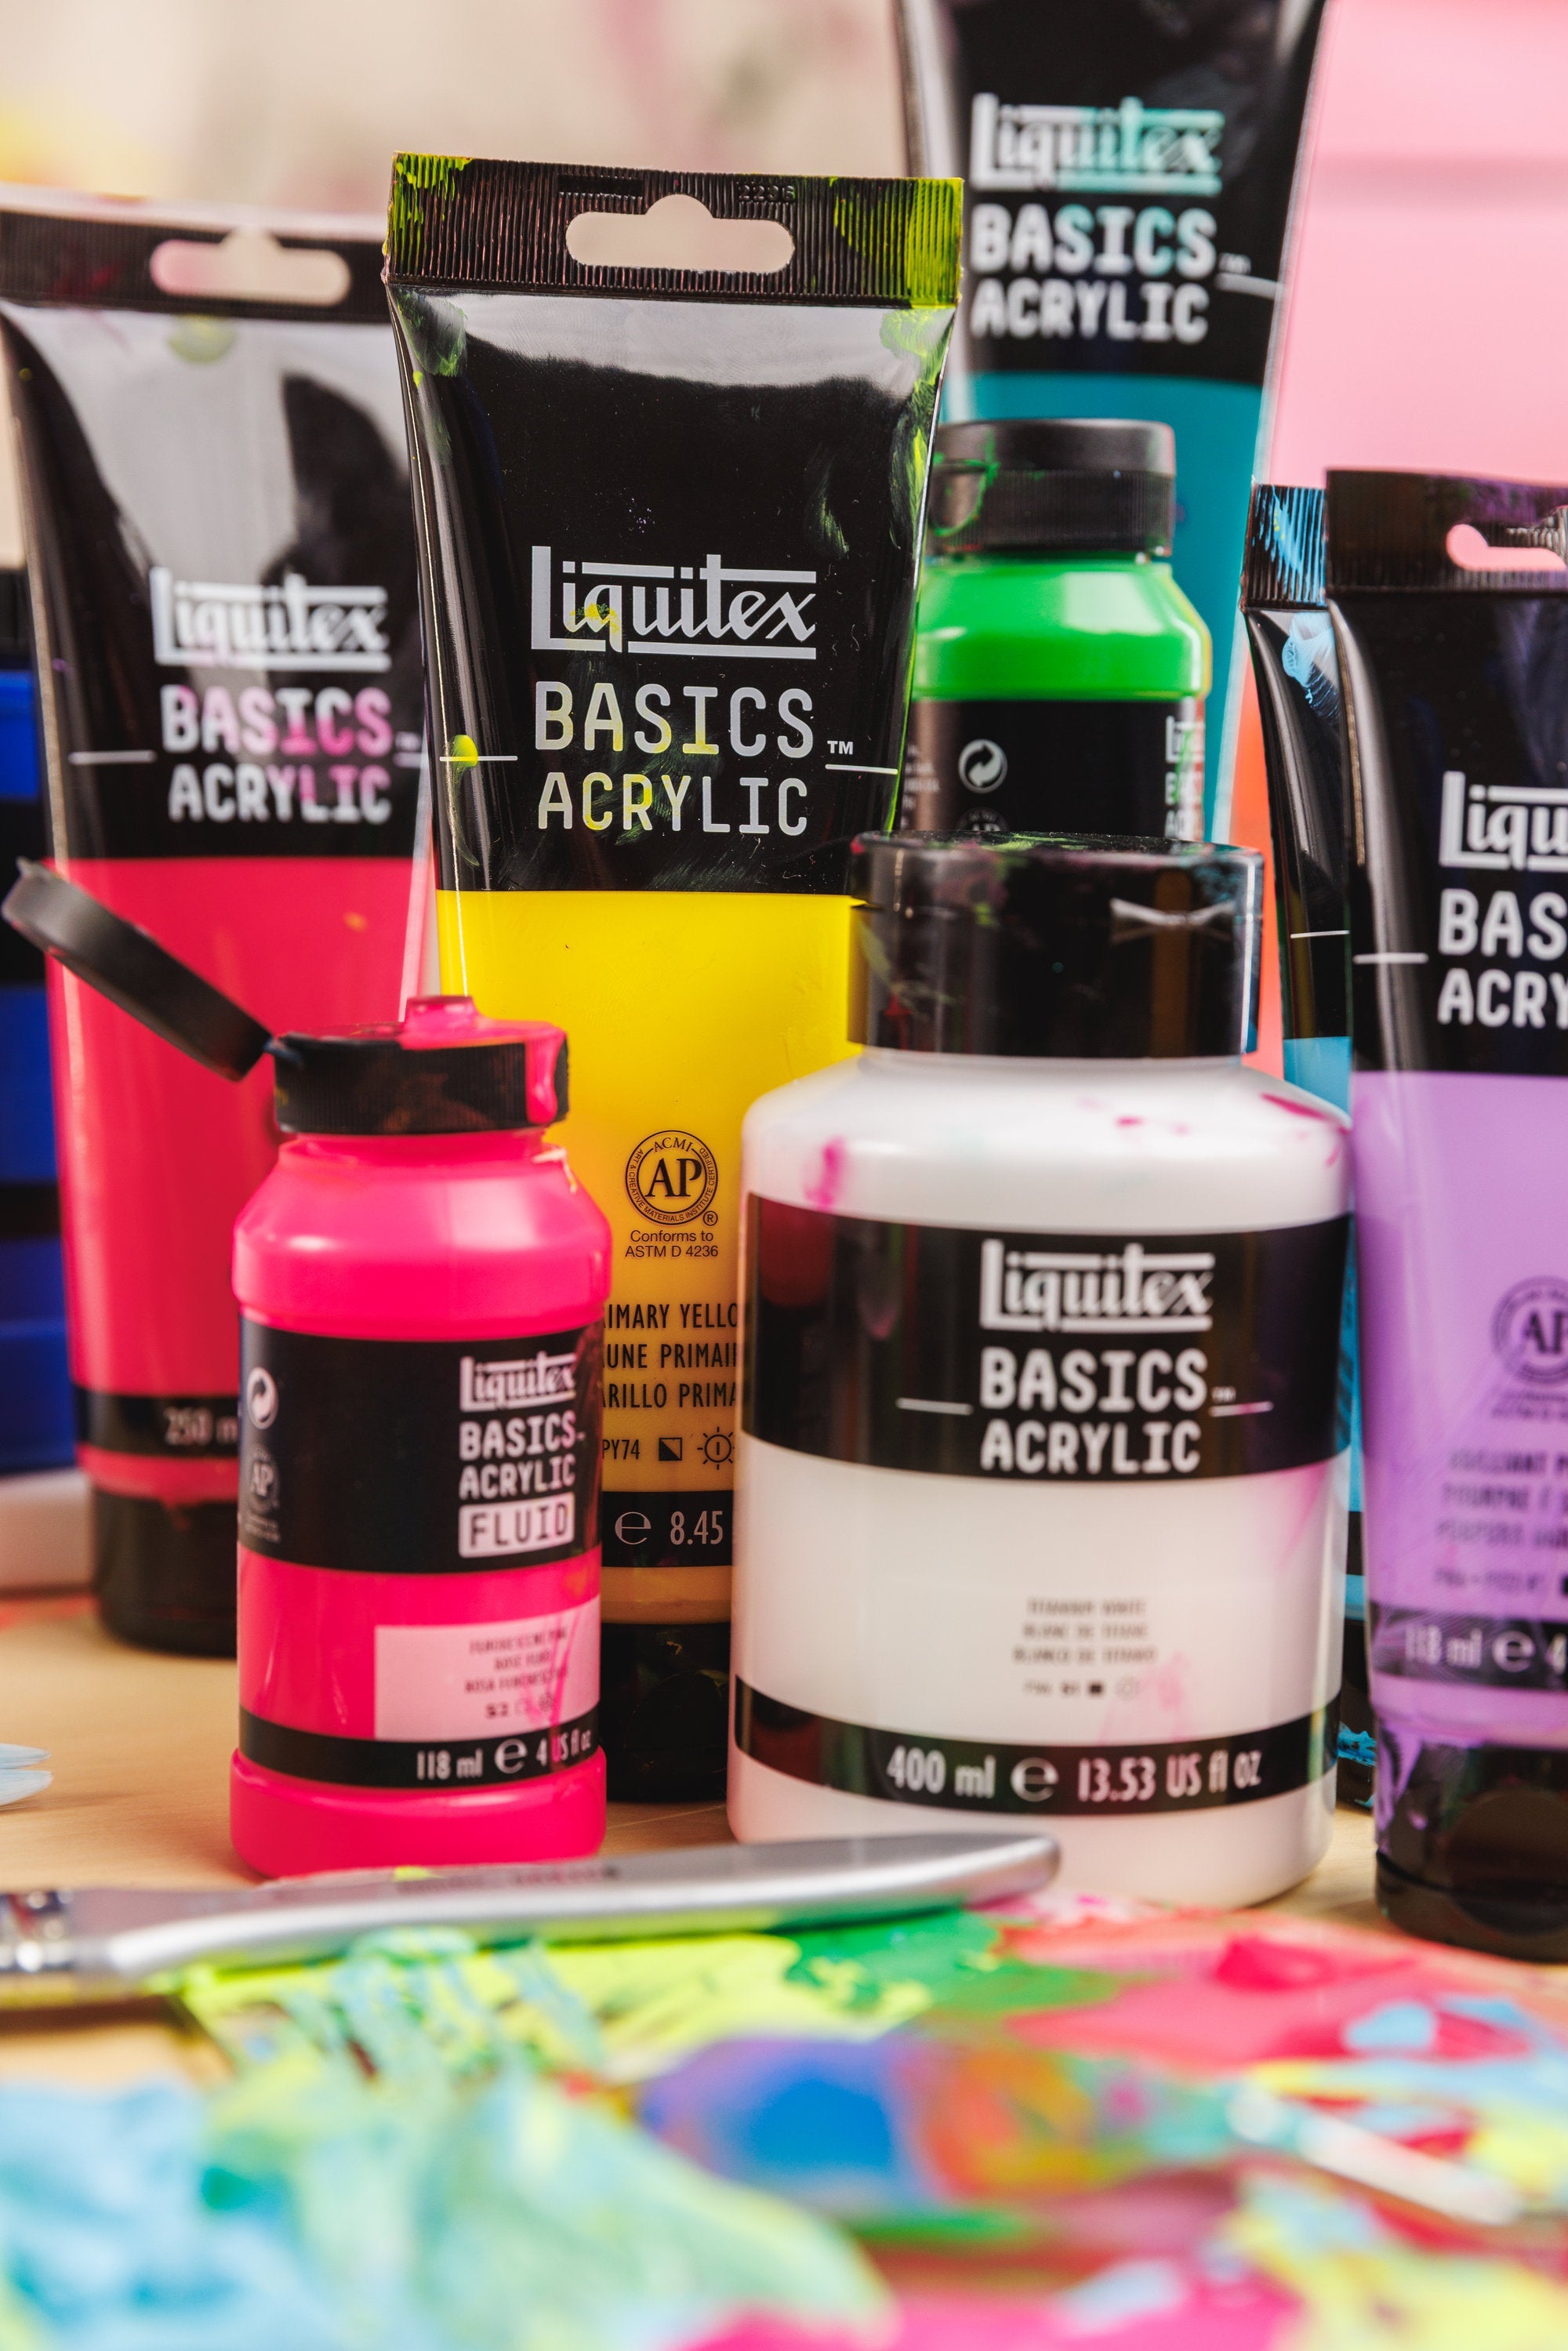
Student grade vs artist grade: Student-grade acrylics contain less pigment and more filler — they are appropriate for building skills and experimenting. Artist-grade paints offer richer colour intensity. Starting with a quality student-grade set is the sensible approach — the results are still vibrant and enjoyable while you develop your technique.
The Liquitex Acrylic Paints range sits at a strong middle ground — formulated for richness and blendability, with colours that hold their integrity when mixed rather than going muddy. Muddy colour when mixing is one of the most common frustrations for beginners, and it is often a pigment quality issue rather than a technique issue. Liquitex sets also cover a wide enough colour range that you are not constantly discovering a gap when you need a specific tone.
Four Core Techniques Worth Learning First
These four techniques are the building blocks of most acrylic painting styles. Learn these before anything else:
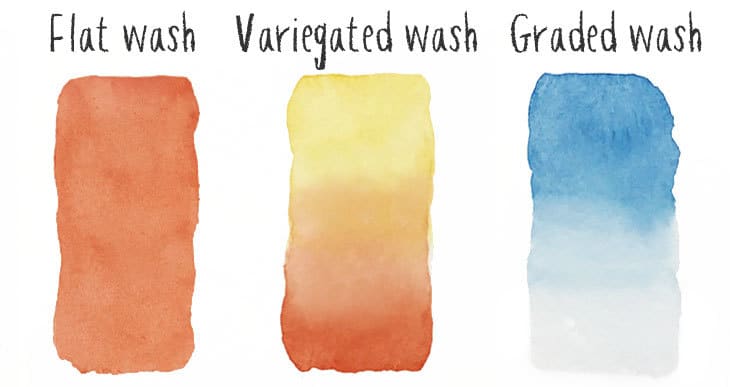
1. Flat wash: Thin your paint with water until it flows easily, then apply it in even, overlapping strokes across a surface. The thinner the paint the more transparent the wash. Good for backgrounds, skies, and underpainting layers.
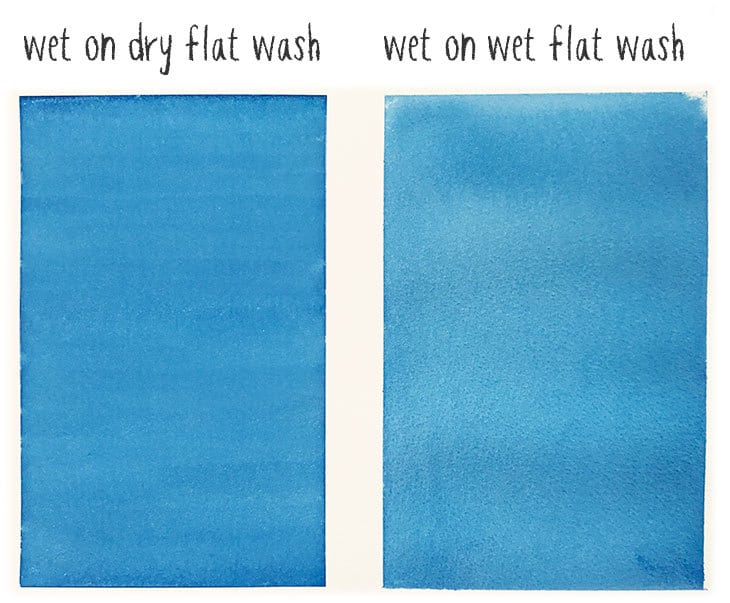
2. Wet-on-wet blending: Apply two colours side by side while both are still wet, then merge the boundary with a dry or slightly damp brush. Work quickly — acrylics dry fast. This technique produces smooth gradients and soft edges, well suited to skies, skin tones, and natural light effects.

3. Dry brushing: Load a brush with very little paint and drag it lightly over a dry layer. The result is a scratchy, textured effect that reads well for fur, grass, water highlights, and aged or worn surfaces.

4. Impasto: Apply heavy body paint thickly — with a brush or palette knife — without thinning it. The paint holds its shape as it dries, leaving visible texture. Good for expressive, physical painting where the material itself becomes part of the work.
Common Beginner Mistakes — and How to Avoid Them
A few adjustments made early save hours of frustration later:
- Not keeping the palette moist: Acrylic paint dries fast on dry surfaces. Keep your palette lightly misted with water, or use a stay-wet palette to extend working time throughout a session.
- Over-thinning with water: Thinning acrylics more than approximately 30% with water breaks down the acrylic binder and can cause the dry paint to crack or not adhere properly. For thin, transparent layers, use an acrylic glazing medium rather than water alone.
- Working straight from the tube: Squeeze paint onto a palette and work from there. Painting directly from a tube gives you less control, wastes paint, and makes it harder to mix accurately.
- Rushing between layers: Even though acrylics dry quickly, thick applications need time. Painting over a layer that has not fully dried can drag and muddy what is beneath it. Wait until each layer is dry to the touch — usually a few minutes for thin applications — before adding the next.
- Neglecting brush care mid-session: A brush with dried or contaminated paint will muddy clean colours within a few strokes. Keep your rinse water fresh and clean your brushes between colours.
Where to Start — Your First Painting Project

Start with something geometric and abstract rather than a subject with recognisable forms. A grid of colour swatches teaches you how your paints mix. A simple gradient from one colour to another — say, yellow through orange to red — builds your understanding of wet blending. A basic three-tone landscape: sky, horizon, and foreground in three related values, is achievable in an hour and teaches more in practice than most tutorials can convey in theory.
The goal of a first painting is not to make something finished or impressive. It is to get comfortable with how the paint moves, how your brush responds, and how your colours behave when mixed. The understanding develops through doing, not through preparation.
Frequently Asked Questions
Can you use acrylic paint on any surface?
Acrylics adhere well to most porous surfaces including canvas, wood, paper, fabric, and unglazed ceramic. On non-porous surfaces like glass or metal, adhesion is weaker and a primer or sealant is recommended for durability.
How long does acrylic paint take to dry?
Thin layers dry within a few minutes. Thick impasto applications can take 30 minutes to several hours. Drying time also depends on humidity and temperature — warm, dry conditions accelerate drying.
Can you mix acrylic paint with water?
Yes — up to about 30% water by volume. Beyond that the binder breaks down and the dried paint can crack or peel. For thinner, more transparent applications use an acrylic glazing medium, which maintains the binder integrity while extending the paint's flow.
What is the difference between student and artist grade acrylics?
Pigment concentration. Artist-grade paints contain more pigment and less filler, producing richer, more intense colour with better lightfastness. Student-grade paints are more affordable and appropriate for practice and skill development.
Do I need to varnish an acrylic painting?
Not strictly necessary, but varnishing a finished painting protects it from dust, UV light, and handling. A removable varnish is preferable to a permanent one — it allows the painting to be cleaned or recoated in future.
Where can I buy acrylic paints in Singapore?
We carry Liquitex Acrylic Paints range at The Hadler Store — worldwide shipping from Singapore.
Shop Acrylic Paints at The Hadler Store
We carry the Liquitex Acrylic Paints range alongside sketchbooks, art markers, and creative supplies for every level. Authorised retailer, worldwide shipping from Singapore. Free delivery on orders over $280.